
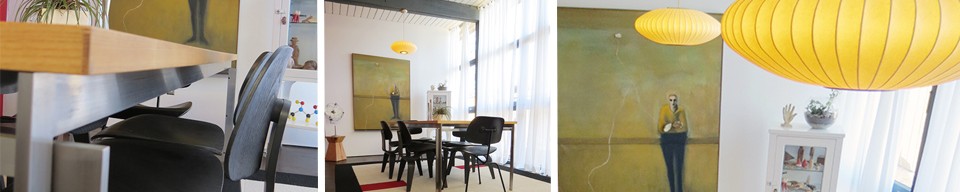


Office Details – After Midnight
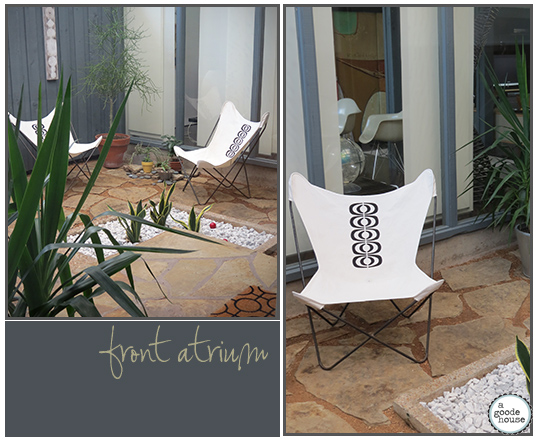
The work continues in our little office and I’m starting to see the finish line. Although there are still many OFFICE posts to come and lots left to do… here’s some record keeping.
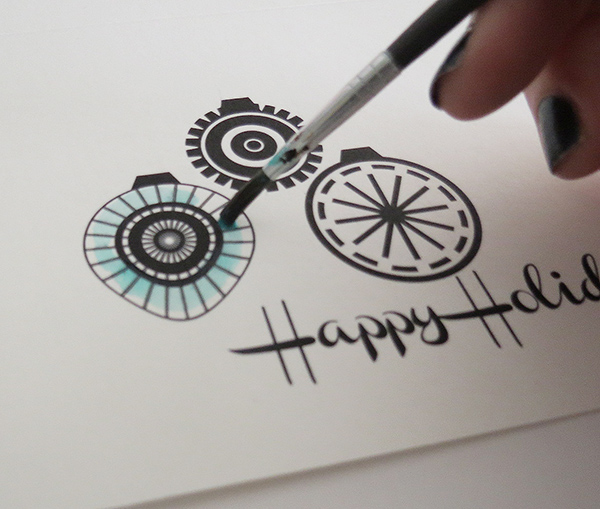
Over the weekend I decided to focus in on some little things that required some creativity. Most of it I come up with around midnight when I’m trying to settle my brain down and get to sleep. It rarely works because that’s usually the time I go crazy with thoughts regarding my next insane TIME SUCKING project.
So after many late night ideas this week I woke up ….
Continue Reading »